Friday, July 27, 2018

Doing Research with the Amazing Threespine Stickleback

“Welcome to Alaska (soon)!” wrote Kat O’Brien in response to a post I made on the listserv for the Ecological Society of America. In preparation for my sabbatical in Alaska, I was reaching out to scientists who might be willing to let me tag along on their research or visit their lab so I could gain a better understanding of how science is done…and then write about it for Natural Connections.

Kat was one of the first and friendliest people to respond to my post. She continued, “I work in a threespine stickleback facility and we often go out collecting up in Talkeetna and Big Lake. If you have any interest in stuff like that, let me know!” She closed her email with “Please bring cheese.”

Well, I couldn’t manage to transport Wisconsin cheese safely for almost two months without a cooler, and I missed out on their field work, but Kat still invited me to come see their labs on the University of Alaska Anchorage campus. As I walked out of the cold drizzle and into the Ecosystem-Biomedical Health building, not just one, but four young women greeted me inside. Two were students (one undergrad, one Master’s) doing research on threespine sticklebacks, and another was the lab manager whose job it was to order supplies and keep everyone organized so that the fish stayed alive. Kat O’Brien was the one with wild red hair. She’s a Husbandry Technician for UAA.

Kelly Ireland, Rachael Kramp, an additional lab-mate, Katie D’Amelio, and Kat O’Brien all work on threespine sticklebacks in Dr. Kat Milligan-Myhre’s lab at the University of Alaska Anchorage. Photo by Emily Stone.
Introductions were short, because the scientists were excited to show me their fish. We entered a small white room lined with three levels of tanks. The top two shelves held research subjects, and on the bottom level were effluent tanks which filter dirty water cycled out of the tanks. As inch-long threespine sticklebacks (Gasterosteus aculeatus) hovered in their tanks, Kelly Ireland (the Master’s student) enthusiastically listed the benefits of sticklebacks as study subjects. Many folks (including me) would just call them a minnow, but they are so much more.

These small native fish are easy to collect, and relatively easy to keep alive and breed in the lab, making them good research subjects. Sticklebacks feed a lot of sport fish, and they are regarded as a “sentinel species” who could alert of us of environmental issues before they pose a significant threat to humans.

Sticklebacks are widespread, and are native throughout the Northern Hemisphere. My groups of 5th graders used to catch threespine sticklebacks in tidepools on the coast of Northern California. They’ve also been introduced into the Great Lakes. Those are two quite different habitats, and while the sticklebacks who inhabit them are the same species, they look quite different. In all of those habitats, sticklebacks have their three namesake-spines in front of the dorsal fin.  But their phenotype—physical characteristics that vary based on the way their genes interact with their environment—changes from freshwater to brackish water.

What also caught my attention was that threespine sticklebacks live in Japan. They are almost circumpolar, just like some of my favorite plants! (Their absence from the north coast of Siberia, the north coast of Alaska, and the Arctic islands of Canada prevents them from being truly circumpolar.) Just a few weeks ago, hundreds of researchers gathered in Kyoto, Japan, for the 9th International Conference on Stickleback Behavior and Evolution.

I wasn’t sure what to expect when Kat invited me to their lab, but five minutes into my visit, I was hooked on the young women’s enthusiasm and this cute little research subject with big eyes and transparent juveniles.

Young threespine sticklebacks are transparent, which makes it easy to study
the contents of their guts. Photo by Emily Stone.
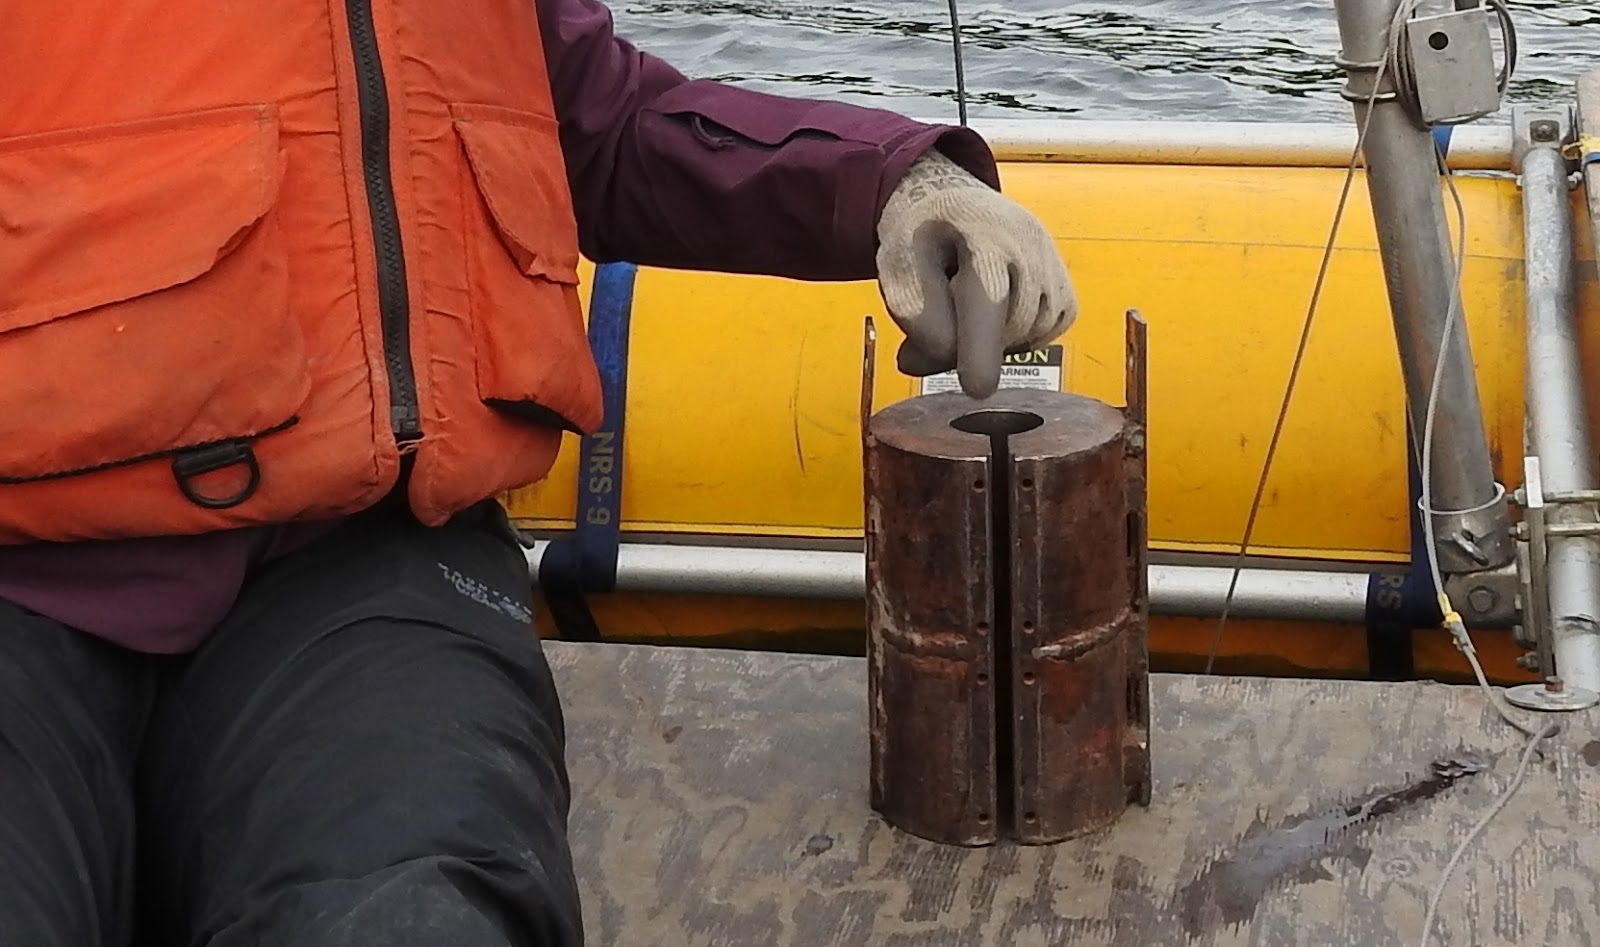
With all the homemade tank systems, plumbing, electronics and tools packed into their lab, (as well as their sense of fun and friendship on the research team) these young women reminded me a lot of the sediment coring crew I went out with. This type of science can’t be done without getting wet, dirty, using tools, and doing a lot of problem solving.

What useful science could they possibly do, though, with these tiny critters? In that first room full of tanks, the left wall had all been treated with different concentrations of Fluridone. This herbicide is used on entire lakes or rivers to treat aquatic invasive plants. In Alaska, Elodea is the target. In Wisconsin, it’s used on Eurasian watermilfoil. So far, the herbicide seems safe to use. The lab and its collaborators are looking at how it impacts the sticklebacks’ microbiome—or all the bacteria that live in and on their bodies.

This lab is also using experiments to study how changes in the fish’s microbiomes impact their growth, development, and immune systems, as well as the impact of crude oil on their health. The right wall is a “common garden experiment,” explained Kelly. “We’re seeing how different stickleback populations respond when raised with the same microbiomes, to see how genetic background and microbes interact.”

It was a whirlwind visit, and as Kat walked me out of the lab, we talked about how great it is to work in a team of women. “This is the first lab I’ve worked in where the PI (principal investigator) is a woman. Dr. Kat Milligan-Myhre really listens to us and makes us all feel like true collaborators.” It’s good to know that—at least in some cases—that is how science is done.

For more information on sticklebacks, read an article by researcher Kelly Ireland here: http://northexposure.net/2017/12/05/stickleback-the-super-fish/ Emily is in Alaska for the summer! Follow the journey in this column, and see additional stories and photos on her blog: http://cablemuseum.org/connect/.

For 50 years, the Cable Natural History Museum has served to connect you to the Northwoods. Come visit us in Cable, WI! Our new exhibit: “Bee Amazed!” is open.

Tuesday, July 24, 2018

Sediment Coring 101

One article is too short to capture both the teamwork and the technical skills exhibited by these four female scientists, or to even include much of the science behind their work. So, here's a more technical post!  You can find the main article here.

There are many different ways you can take a sediment core, and they all have pros and cons. We used three different coring techniques on Kelly Lake in order to make sure the Ellie and Emmy had a complete set of layers with which to do their research. They are: surface coring, percussion coring, and Livingstone coring.

SURFACE CORING
The day began with Ellie retrieving their boat from the bushes a little way down the shore. The team moored the boat away from the public landing each night so that it would be out of peoples' way and out of temptation for someone to mess with. They also unhooked the motor each night and stored it in the back of their truck. 

Annie and Emmy worked together to get the surface coring device set up. 


  Their surface corer was made by UWITEC. You can see a detailed diagram HERE.


We all rode out to the coring raft again. It was still anchored from yesterday so that we could get a full set of the three types or cores from the same location. Surface coring was the final task at this site, and Ellie wanted full cores from two sites in the deepest part of the lake.

The raft is a cobbled together contraption. The inflatable pontoons were purchased. They are strapped to a metal pipe frame using the basic NRS tie-down straps. Three wooden platforms are also lashed to the raft to provide places to sit and stage gear. And a metal tripod fits neatly into three cups affixed to the frame. Most researches use a raft similar to this one, but they are all slightly different depending on the type of coring they do most, and their personal construction style. 


Ellie and Annie ease the UWITEC corer into the water. Ellie knows by feel when it hits the bottom, and there is a weighted hammer system to help tap it down into the mud the right distance. They used a depth finder and some math to figure out how deep the corer should go to capture the sediment-water interface.
As Ellie pulls up the core, Annie is ready to slap a cap on the end. The corer has a system to seal the core in place as it's brought up, but that won't always hold once the bottom hits thin air.


Annie removes the corer from the sample tube.


Although it's important to capture the sediment-water interface, it's also impossible to keep things from sloshing around with all that water in there. They poke holes in the sample tube and let the water drain out. The sediment settles down with its layers intact. 


It's peeing!  Giggle. 


Once most of the water was gone, Ellie added diaper powder. It solidifies the soupy sediment on top and makes it more stable for transport. 

Emmy "babysits" the sample as they zoom back to the dock. They'll have to stuff the empty space in the tube with florist's foam to keep the mud from shifting during transport.


 Ellie took two surface cores from the same location--science is all about repetition!


If they want to study ancient sediments, then why do they care about the most recent sediments on the surface of the bottom of the lake? Ellie Broadman explains all!

PERCUSSION CORING


Percussion coring uses a 20 foot long, 3-inch diameter,  PVC, tube. You attach it to the device, then drive it into the lake bottom sediment with a hammer. It can get you a very nice, long, sample of sediment. It is the next step after surface coring, to go deeper. Transporting the long PVC pipe is a little awkward, though. 


Ellie is a great captain!


 Here's the custom-made hammer that slides along a spindle using ropes that come up to the raft and through pulleys. 
An eagle flew over! A good omen!

You can see the metal coring tool in Annie's right hand. They can attach that to any PVC of the correct size. That's the metal spindle that the hammer slides up and down.


Getting the PVC pipe submerged is one of the first challenges. It tries to float. Also, the boat needs to be untied from the raft at this point so that you are more maneuverable. That pipe is LONG! 


It really is a chore to get that thing submerged. 


All the scientists, but especially Annie and Ellie have gotten VERY comfortable climbing around the coring raft and hanging off edges.

Finally, the pipe is going down, and the metal end can be attached to the cables and the tripod.


Abby and Emmy pull down on the hammer ropes, then let the hammer slide back down as forcefully as possible. This takes synchrony and stamina. Sometimes it takes 50 repetitions just to go 5 centimeters. They measure carefully on the cable to keep track of their progress. They can only drive it down as deep as the pipe is long. 

Abby and Annie use the hammer.

Abby and Emmy use the hammer. Doesn't it look like fun!?


Once the PVC pipe is down as far as it can go, then comes the challenge of hauling up all that wet mud, and breaking the suction on its hole. They use a chain hoist, which is a pretty slick system.


Annie LOVES using the chain hoist to bring the core back to the surface.


Annie also makes sure that there are always snacks on the boat and everyone is well fed.


Here it comes!


Back on shore, we clean and cap the end of the core. 


Everyone's help is needed to support the heavy pipe as we bring it up. (I jumped in to help right after this photo.)


This sample is much too long for transport, and even too long for processing back at LacCore: National Lacustrine Core Facility at the University of Minnesota. So they use a pipe cutter to get it into 1.5 meter sections with a tightly taped cap on each end. 


When Ellie cut this section we found a very old leaf!!!

This extra bit of mud fell off somewhere. I decided to examine it more.


Very clay-rich!

The loon approved.


Overall, a very good day.

LIVINGSTONE CORING

Using the Livingstone-type drive rod piston corer feels a little bit more complicated and time-consuming than the other two types of cores. It uses a metal pipe with a pointed, closed end, though, so it can be driven through tougher sediments and allows you to get an even deeper core than the percussion corer. 

The basic idea is that the same piston head is driven into the same hole over and over using metal rods you can screw on and off. You pull up the corer and empty it in between each go. In order to make it possible for you to get the piston into the same hole each time, sections of PVC pipe are screwed together and sunk a little way into the mud to keep them stable. Then the Livingstone corer goes through that casing. 

Ed, Annie, and Ellie get the PVC casing into the water. 

Emmy and Abby assist by washing off the threads on each new section of PVC. Grit in the threads makes everything harder.


They have a custom-built wooden collar to hold the top of the PVC casing stable in the hole in the middle of the coring raft.


One by one, they screw metal rods onto the corer so that it can reach deeper into the water and then the sediment. It's a very tedious process in 13 meters of water!


Annie was a whiz at screwing the pipes on and off.

Once the corer is in the sediment there is no hammer to help it get farther. People just push with all their might!


*grunt*


Once the corer has been pushed the correct depth, Ellie locks and loads the piston. This opens the end, and allows her next push to actually sample the sediment at the depth she wants. This also requires careful measurement to make sure everything is at the correct depth.


Ellie explains is better than I can.


Bringing the core up out of the sediment is all done with brute strength as well. The chain hoist isn't set up for this type of coring. 

 Bringing up the core is a little treacherous for Ellie. Water spills out of most of the joints as they are unscrewed. Ed was a true gentleman and tried to shield Ellie from the spray with his hand. She's tough, though. It's all in the name of science! 


Here's the end! Ellie capped her hand over it to make sure not to lose any of that hard-won sample!


It's not really as bad as the last photo made it look. 


Then the sample get's transferred over to the boat for extruding. 

All hands on deck! None of these tasks are particularly easy. Mud is pretty sticky stuff.
After cocking and locking the piston again, they can use it to push the sediment core out.


Extruding the sediment core.

It's so exciting to watch the layers be revealed!

This was one of the uppermost cores, and it mostly looked like compacted mud with fewer distinct layers. 


A lower core got covered by soupy sediments, but it had lots of distinct layers!


Even though I had them pose looking interested, they kept looking at this long after I got my photo. They really are fascinated by layers of mud! What's not to love?


No wonder we had to push so hard. We cored right through some soggy old wood. Cool!

So many cool layers!


It can be a messy process though. Annie had to wipe mud out of Ellie's hair. All in a day of doing science.

The core is extruded onto half a black tube. Then the other half is placed back on. End caps and lots of tape help keep it secure.
 Don't forget to write it all down!
Time for a snack!


Clean the boat!

And then do it all over again, multiple times. 
Whoever said science isn't fun?


Some of the sediment fizzed when we applied acid! This indicates carbonates in the sediment, which is very unusual in Alaska. The CaCO3 was deposited by plants, but where did they get it? This area is not rich in limestone. Anyway, we geologists were excited.